Saturday 28 January 2012

Cookie Monster tee for my little man.

Hi guys, today I've been busy making a stencil for and printing a couple of cookie monster t-shirts for my boy so I thought I'd jump on and share the process with you!

What you need:
  • paper with picture you want stenciled (one page per colour, mine has two!)
  • cutting mat and cutting tool
  • screen and squeegee (you can easily knock up a screen using an old timber picture frame and monofilament (a fine mesh picked up from art stores) tightly stapled around)
  • screen inks (I used blue and white to mix up the right colour and black)
  • newspaper
  • masking tape
  • knife

Step 1.
Print the design you want to screen on to your fabric (t-shirt) or alternatively draw your design.  * I just typed cookie monster into my search engine and saved the image I wanted then printed two copies (or as many as the colours in the picture you are using) making sure they were the right size for my t-shirt.

Step 2.
Using the utility knife and cutting mat, cut the pictures up according to colour.
 I marked my pieces for black and blue

Step 3.
Using the blue stencil first, tape the stencil to the flat side of your screen
 Fill in the rest of the area with newspaper so as the ink won't be printed in unwanted areas

Step 4.
Place newspaper on the inside of your t-shirt so as ink can't pass through to inside and back of shirt, then place the screen, stencil side down on t-shirt so as the picture is in the correct position to be printed.
Step 5. Mix up the colour you need using your inks then spread onto your squeegee with a knife.
This is an old photo as I forgot to take photo of this step!
Step 6.
Scrape the ink over the top of the screen in all directions then use more of a scraping motion to remove excess ink.
Same as last, silly me!
Step 7.
Carefully remove screen from the top of the t-shirt and admire your print.


Then its clean up time! Luckily these inks are water based and was cleaned easily with cold water and a soft cloth.

If second colour is required, wait until ink is dry and repeat process with next stencil and align over previous print.  Once all ink is dry, your prints need to be heat set using an iron.  Times required for this are on the labels of the screen inks.


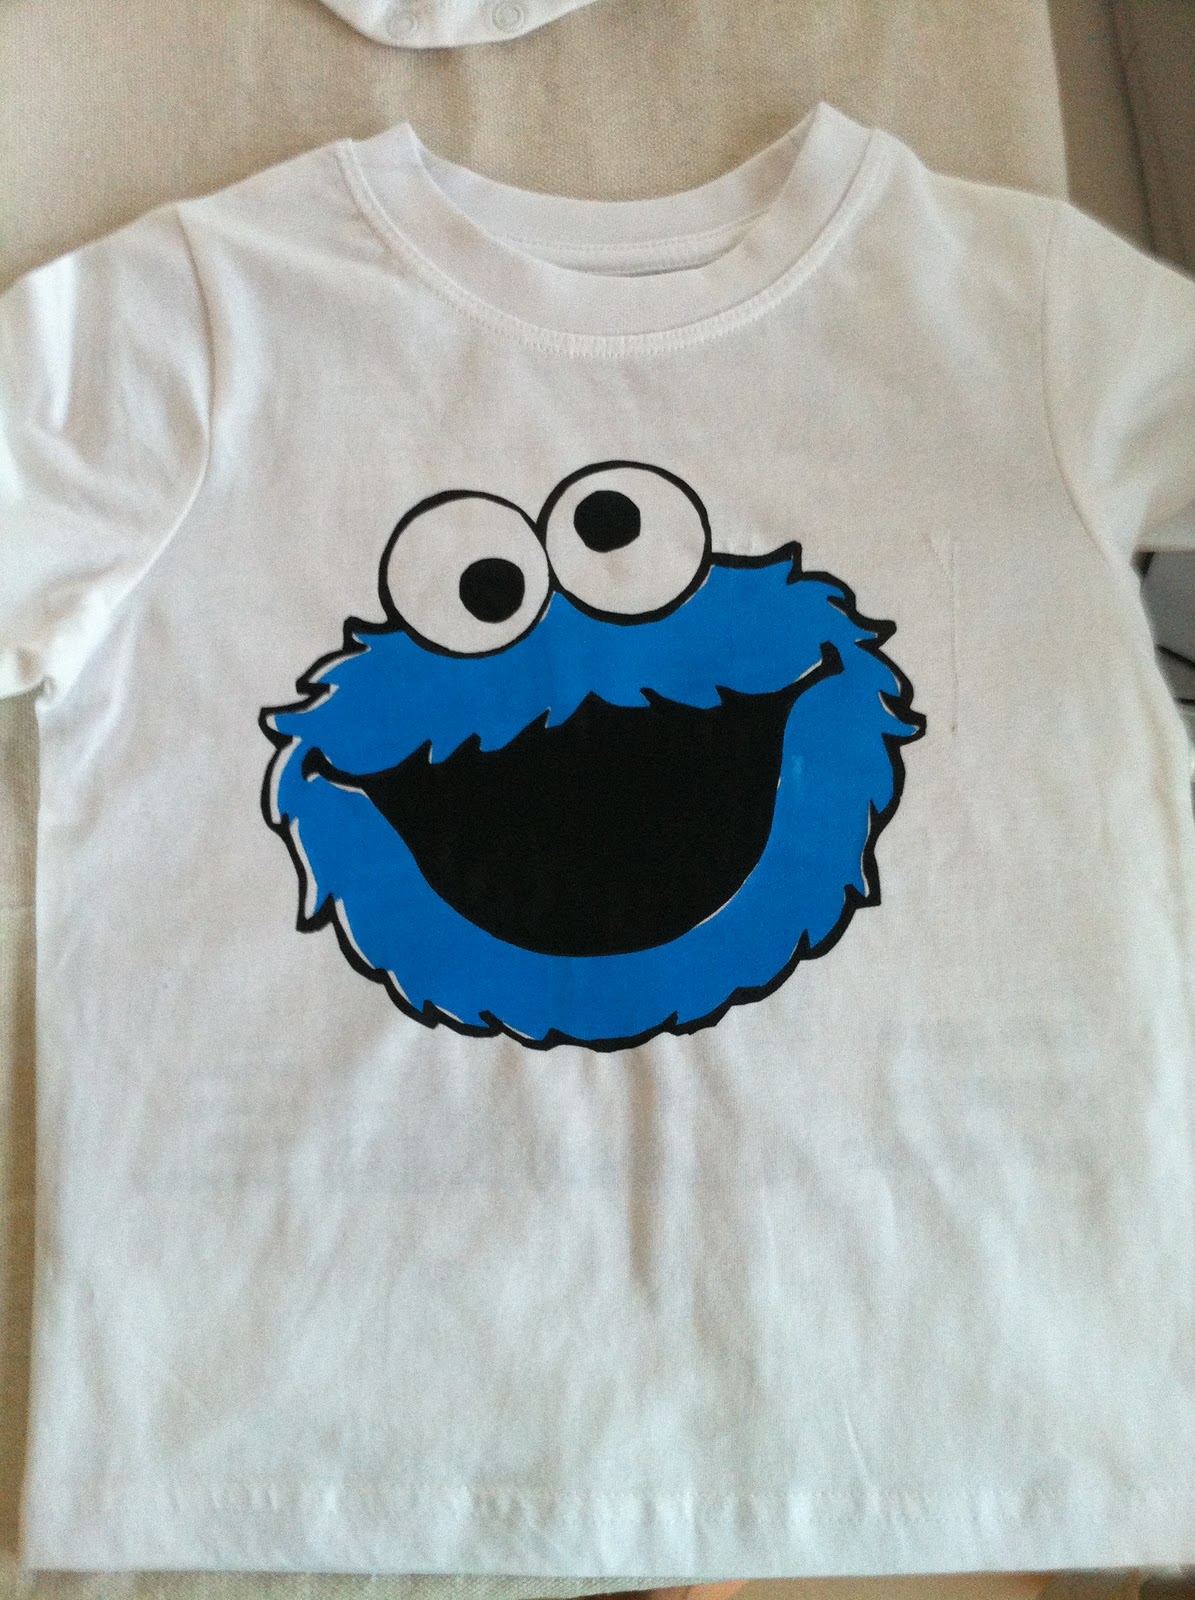
In the end I printed two t-shirts for Sam and two onesies for my grandson, a black one and a coloured for each! You've got to make sure you get the most from your stencil while your doing it as they are not reuseable!

Happy screenprinting!


Friday 27 January 2012

I've finished my entry for the Naughty Notions Challenge


I've finished my entry for the Naughty Notions Challenge hosted by Keren from sew la vie and Rikka from ricochet and away and I did it with four days to spare!  Head on over and check out the challengers.  You can also vote for your favorite once they are all up (Early Feb). 

My clutch is made from a blue suede like fabric with gold beading and a floral fabric for the lining.  I used the free pattern from ali foster patterns with some card slots added to the lining.  I really had a hard time deciding how to incorporate notions into my clutch, but I am super happy with how it turned out! 

There are four card slots on the inside.


The most time consuming part by far was the beading. 

I love this clutch, it's the perfect size for my phone, keys and lip gloss! 


Thank you so much Rikka and Keren for hosting this fantastic challenge, I've had a great time participating once again!

Monday 16 January 2012

Getting started

Finally back here... I have been out of action for a while with a terrible cold (in Summer, what the?) then all the preparations for my babies Happy Number Two Birthday party! along with some Tennis watching and Yes I finally started my clutch for the Naughty Notions Challenge.  Now when I say started, I mean only just started, no where near finished!  I clearly underestimated how long it takes to stitch on beads. 
And it's not even like these are teensy tiny beads!  I still have two rows to go, lucky I'm now on leave for the rest of the month! 
This is obviously the back, I just used a button to trace around and make a pretty little pattern then stitched little beads in the overlapping parts of the circle.

After three practice runs I have decided that my Challenge clutch will be made from the Ali Foster pattern (the middle clutch in the above photo) and my beading will be on the top flap.  I will also put some card slots in the lining and use an interfacing that is really stiff. 

In the top 'envelope style' clutch, I used a vinyl and it turned out pretty well but I just don't know where/how I would use notions on it, if it were to be the style I use for the Challenge. 

The third one I made was using a placemat, having the button closure makes it difficult to open and close and creases the fabric a little so I will definitely be using a magnetic closure. 

Right I had better get to beading again, perhaps tomorrow though...I have a Birthday to celebrate!


Love Him! xxx

Thursday 5 January 2012

Guess what I've been up to today?

Ok, so I will give you some clues and see if you can guess.


Any thoughts?

Surely you've guessed by now!  Yes I've been making some Apricot Jam with Apricots right from my own tree, ok some were from my Nan's tree which had way more on it than my little tree that has only been in for 18 months.  But anyways I've been honing my inner nanna and cooking up a storm!  Now I won't go crazy and say I did a good job of it, and I will say that I learned a very important step in cooking something new ALWAYS READ THE RECIPE BEFORE YOU BEGIN.  I obviously did not and threw all ingredients in the pot thinking it was just like stewing fruit, UM NO IT IS NOT!  Apparently you must heat the sugar up in the oven, who knew?!?  And also cook the fruit up a bit on its own first.  Now I bet all who are reading this are shaking their heads at me thinking 'Amateur!' and yes such a rookie mistake!  But alas I think it's going to be OK for human consumption!  Firstly it set on the plate, YAY and secondly I spread some on buttered bread and the family gave thumbs up, so it can't be too bad I guess.
Now I wish I was one of those kinda cooks who makes cute little handmade labels (not just the ones from the jam covers packet) and pretty gingham lid covers and a fresh batch scones with whipped cream to eat it with, but alas I am not!